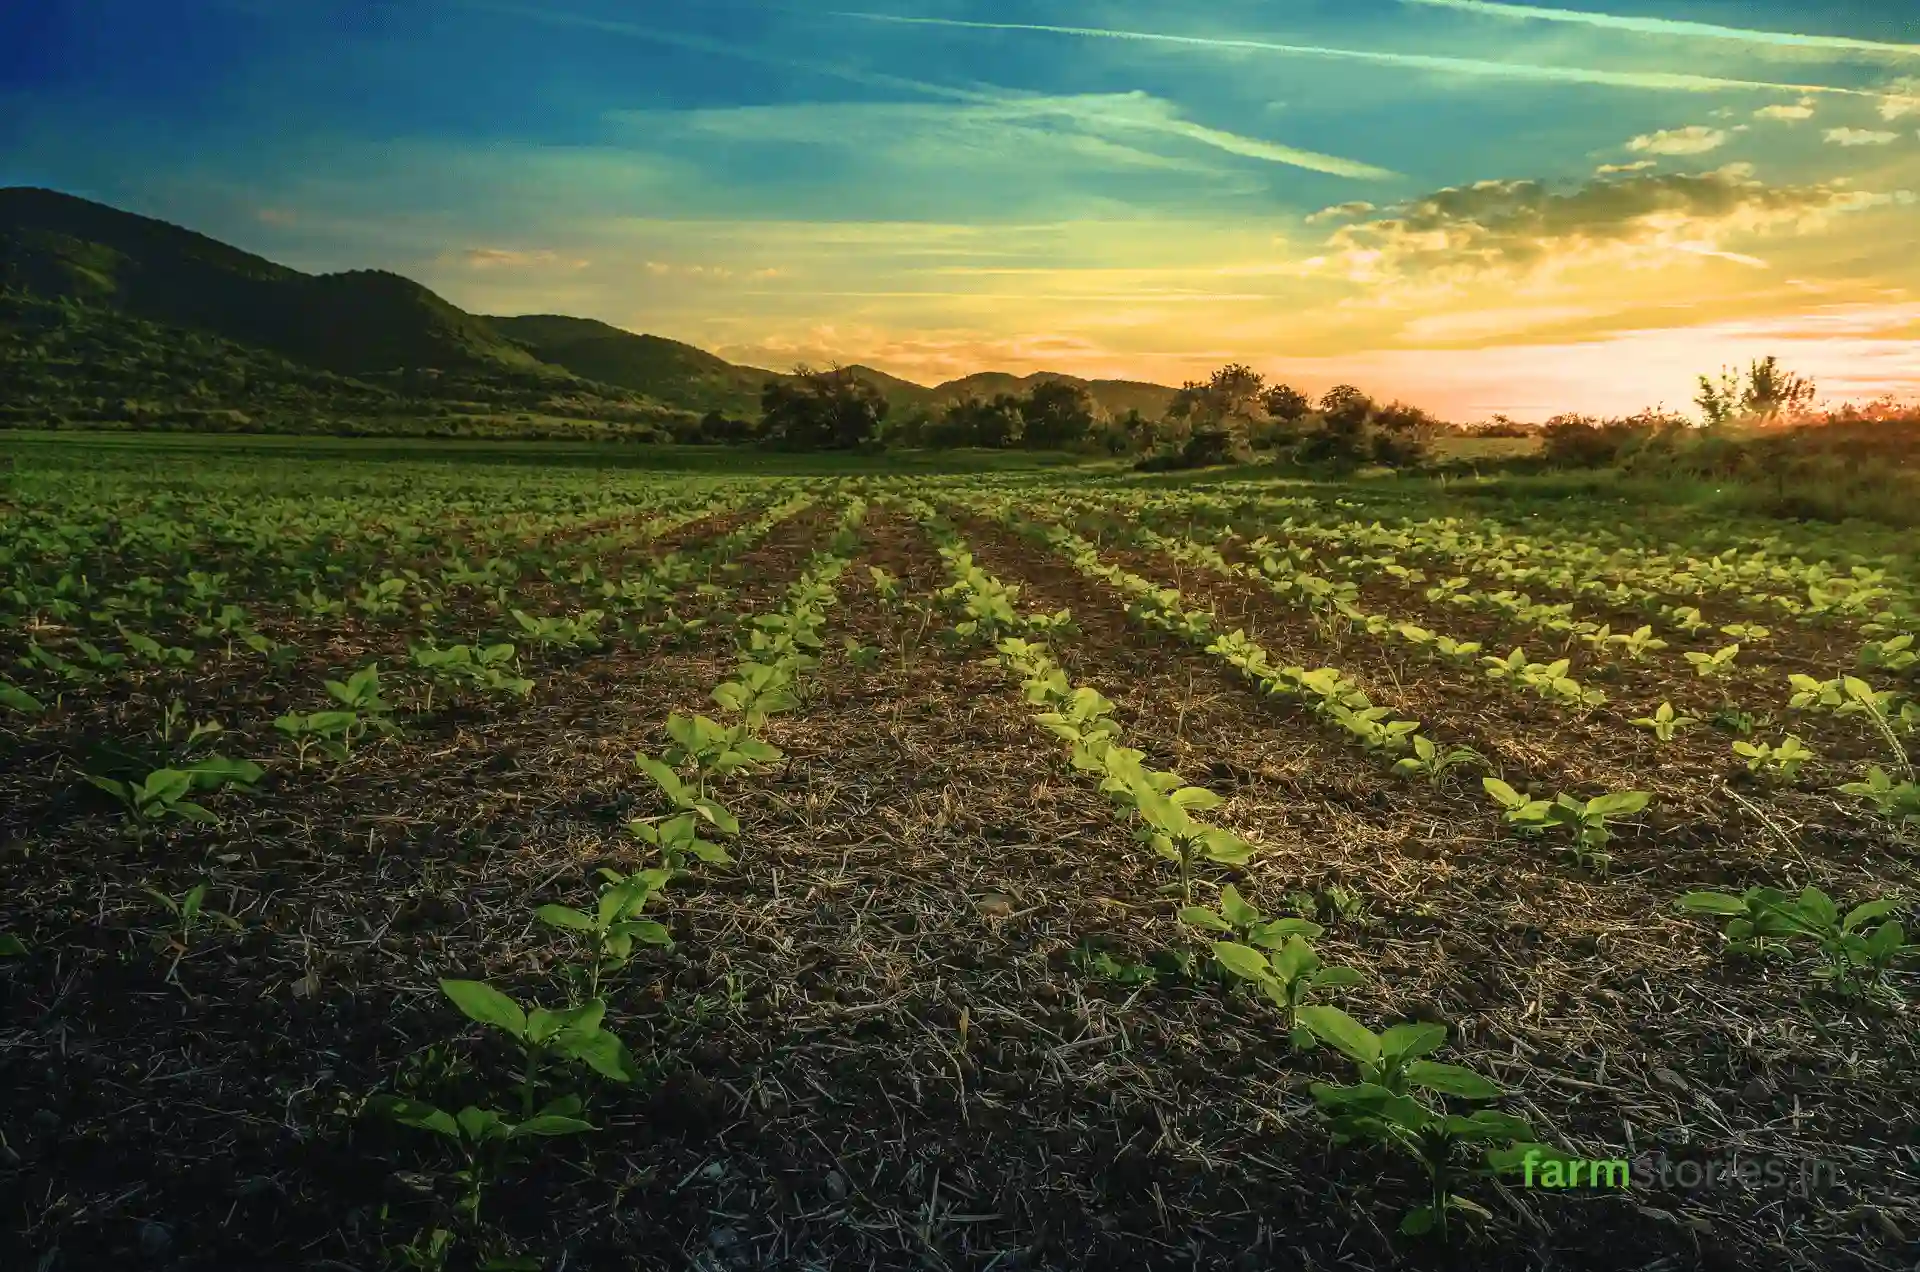
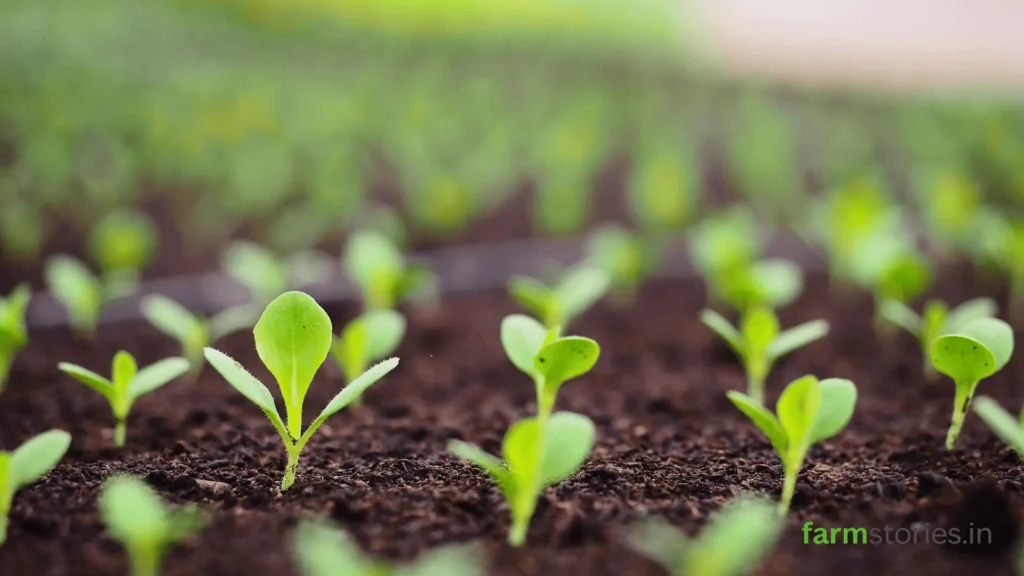
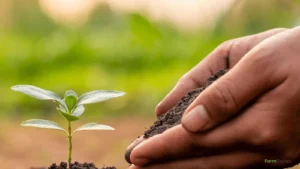
The single best thing you can do before your next crop goes in the ground is to improve soil health — not add more fertilizer, not switch seeds, not change your irrigation schedule. Soil first. Everything else follows.
Most farmers wait until plants turn yellow, growth stalls, or patches of the field underperform despite identical inputs. By that point, the damage is already compounding. But here’s what most guides don’t tell you: you don’t need months to turn soil around. You can meaningfully improve soil health in a 15-day window — not by rebuilding topsoil, which takes years, but by restarting the microbial engine that feeds your crops. That’s what this guide covers.
Table of Contents
Why Your Soil Gets Weak Faster Than You Expect
Soil doesn’t collapse overnight. It degrades quietly, season after season, while everything on the surface still looks functional. Repeated chemical fertilizer use without organic matter replenishment starves the microbial life below the surface over 3 to 5 growing seasons. Continuous cropping without a rest period exhausts nutrient cycling. Deep ploughing every season breaks soil structure and compacts the subsoil layer, blocking both root penetration and water retention.
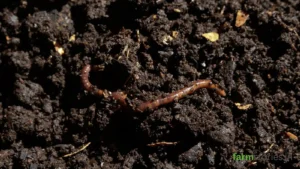
When soil is genuinely “dead,” it’s usually because the beneficial bacteria and fungi have either starved or suffocated — not because the land itself is ruined. That’s actually good news. It means the fix is biological, not structural, and biology responds fast when you give it the right conditions.
I’ve seen this pattern clearly in Palakkad. Two neighbouring farmers, same crop variety, same rainfall that season. One field held moisture noticeably longer after irrigation and delivered a 20% better yield at harvest. The difference wasn’t water or fertilizer. The farmer with the better yield had been adding cow dung and coconut husk mulch for two seasons. His soil had life in it. The other field was compacted, pale, and biologically inert.
What Changes When You Improve Soil Health Early
You might wonder whether a 15-day intervention actually shifts the needle enough to matter. It does — but specifically in the right areas. When you improve soil health through microbial activation and organic matter addition before sowing, roots grow deeper because the soil structure becomes crumbly rather than compacted. Water stays in the root zone longer instead of evaporating or running off. Nutrients that were locked in mineral form get released by microbial activity, which means your plants absorb more from less fertilizer input. And stronger root systems mean better resistance to early pest and disease pressure — without additional sprays.
The first 20 to 30 days of a crop’s life determine its yield ceiling. If soil support is weak during that window, the plant never reaches full potential no matter what you do later. That’s why acting before sowing — not after the symptoms show up — is the only move that actually works.
Join a community dedicated to sustainable cultivation. Subscribe to FarmStories below for free, authentic insights into modern agri-tech and organic farming methods.
The 15-Day Plan to Improve Soil Health
This isn’t a theoretical framework. It’s a practical sequence that works on the ground, built around two core goals: restoring organic matter and reactivating soil biology.
Days 1 to 3: Open the Soil and Feed the Base
Start by breaking the hard surface crust with a light hoe or tiller run through the top 5 to 10 cm of soil. Don’t turn the soil completely over — that disrupts what little biology remains. Just open it enough to let oxygen penetrate the sub-surface layers.
Then apply well-rotted Farmyard Manure at 5 tonnes per hectare — or 2 to 3 tonnes per acre if you’re working smaller plots — directly into the loosened top layer. In Kerala, where cattle dung is widely available and coconut husk breaks down beautifully into the soil, this step is both practical and cheap. The organic matter acts like a sponge, immediately improving water-holding capacity. And it gives the microbial inoculants you’ll apply next something to feed on.
Days 4 to 7: Microbial Inoculation
This is the most important phase to improve soil health quickly. Rather than waiting months for wild soil bacteria to slowly multiply, you’re introducing billions of active, beneficial microbes directly into the organic-rich environment you’ve just created.
Drench your prepared soil with jeevamrutham — the fermented solution of cattle dung, cow urine, jaggery, and pulse flour that’s been a cornerstone of natural farming in Kerala for decades. If you don’t have jeevamrutham ready, panchagavya or a liquid humic acid-based biofertilizer works too. Apply through irrigation or direct soil drenching. These microbes immediately begin breaking down locked minerals and freeing up phosphorus and nitrogen that chemical-heavy soils have made unavailable to plant roots.
Don’t skip this step thinking the FYM you added on Day 1 is enough. The organic matter feeds the microbes. The microbial inoculation is the microbes themselves. You need both.
Days 8 to 12: Lock in the Moisture with Mulching
Microbes die fast under direct sunlight and dry air. So once the inoculation is in, protect it. Cover the soil surface with a thick layer of dry straw, crop residue, or coconut husk — all common and low-cost in Kerala’s farming landscape. If you don’t have straw, a dust mulch works too: break down the top 2 cm of surface soil into fine powder with a light hoe pass.
This mulch layer lowers soil temperature, cuts evaporation losses by up to 60%, and creates the humid underground environment where beneficial bacteria multiply exponentially. The difference between mulched and unmulched soil on a hot afternoon in May is startling — one stays workably moist, the other bakes dry within hours.
Days 13 to 15: Observe and Verify
Pull back your mulch layer. Healthy, biologically active soil will feel damp and crumbly — not hard or pale. It’ll smell distinctly earthy, almost mushroom-like. That scent is actinomycetes, a group of beneficial soil bacteria, doing exactly what you want them to do. If you see that, your 15-day effort to improve soil health has worked. Your soil is primed and biologically ready to support your next crop from germination.
If the soil still feels compacted or dry in patches, apply another round of jeevamrutham and extend the observation by 3 to 5 days before sowing.
Two Things That Will Ruin This Process
There are two mistakes that consistently undo a 15-day soil reboot, and both are worth knowing before you start.
The first is applying heavy synthetic nitrogen — urea in particular — during this window. Dumping chemical nitrogen onto freshly inoculated soil scorches the new microbial population and resets your biological progress back to zero. If you need to fertilize, wait until after Day 15 and use balanced inputs at moderate rates.
The second is overwatering. Keep the soil consistently damp, not waterlogged. Standing water drives out oxygen and suffocates the aerobic bacteria you’ve just introduced. It also encourages anaerobic conditions that promote root-rot fungi. Light, frequent moisture is what you want — the kind that keeps the mulch layer damp without pooling on the surface.
How to Improve Soil Health Season After Season
A 15-day reboot is a starting point, not a permanent fix. To improve soil health consistently across seasons, microbial solutions like jeevamrutham should be reapplied every 15 to 20 days during the crop cycle. Mulching needs to be maintained once per season, replenishing it as the material breaks down. And organic matter — FYM, compost, or green manure — should go into the soil before every crop, not just when problems appear.
Consistency matters more than intensity here. A farmer who adds 2 tonnes of compost every season and mulches regularly will outperform a farmer who adds 10 tonnes once every three years. The soil responds to steady care, not occasional big interventions.
What to Realistically Expect
Farmers who follow this 15-day method typically see better plant growth uniformity within the first two weeks after sowing. Reduced yellowing in the early crop stage. Less fertilizer needed to maintain plant color and growth rate. And over 2 to 3 seasons, a measurable increase in yield — often 10 to 20% — without any increase in input cost.
But the most immediate benefit is less visible: your crop enters its critical early growth window with a biologically active, moisture-retentive soil beneath it. That foundation decides everything that follows. So improve soil health before the first seed goes in. Not after the first problem shows up.
Want to see these techniques in action? Join our growing community of urban farmers by following farmstories on LinkedIn, Instagram, YouTube, and Facebook for daily tips, video guides, and harvest inspiration!