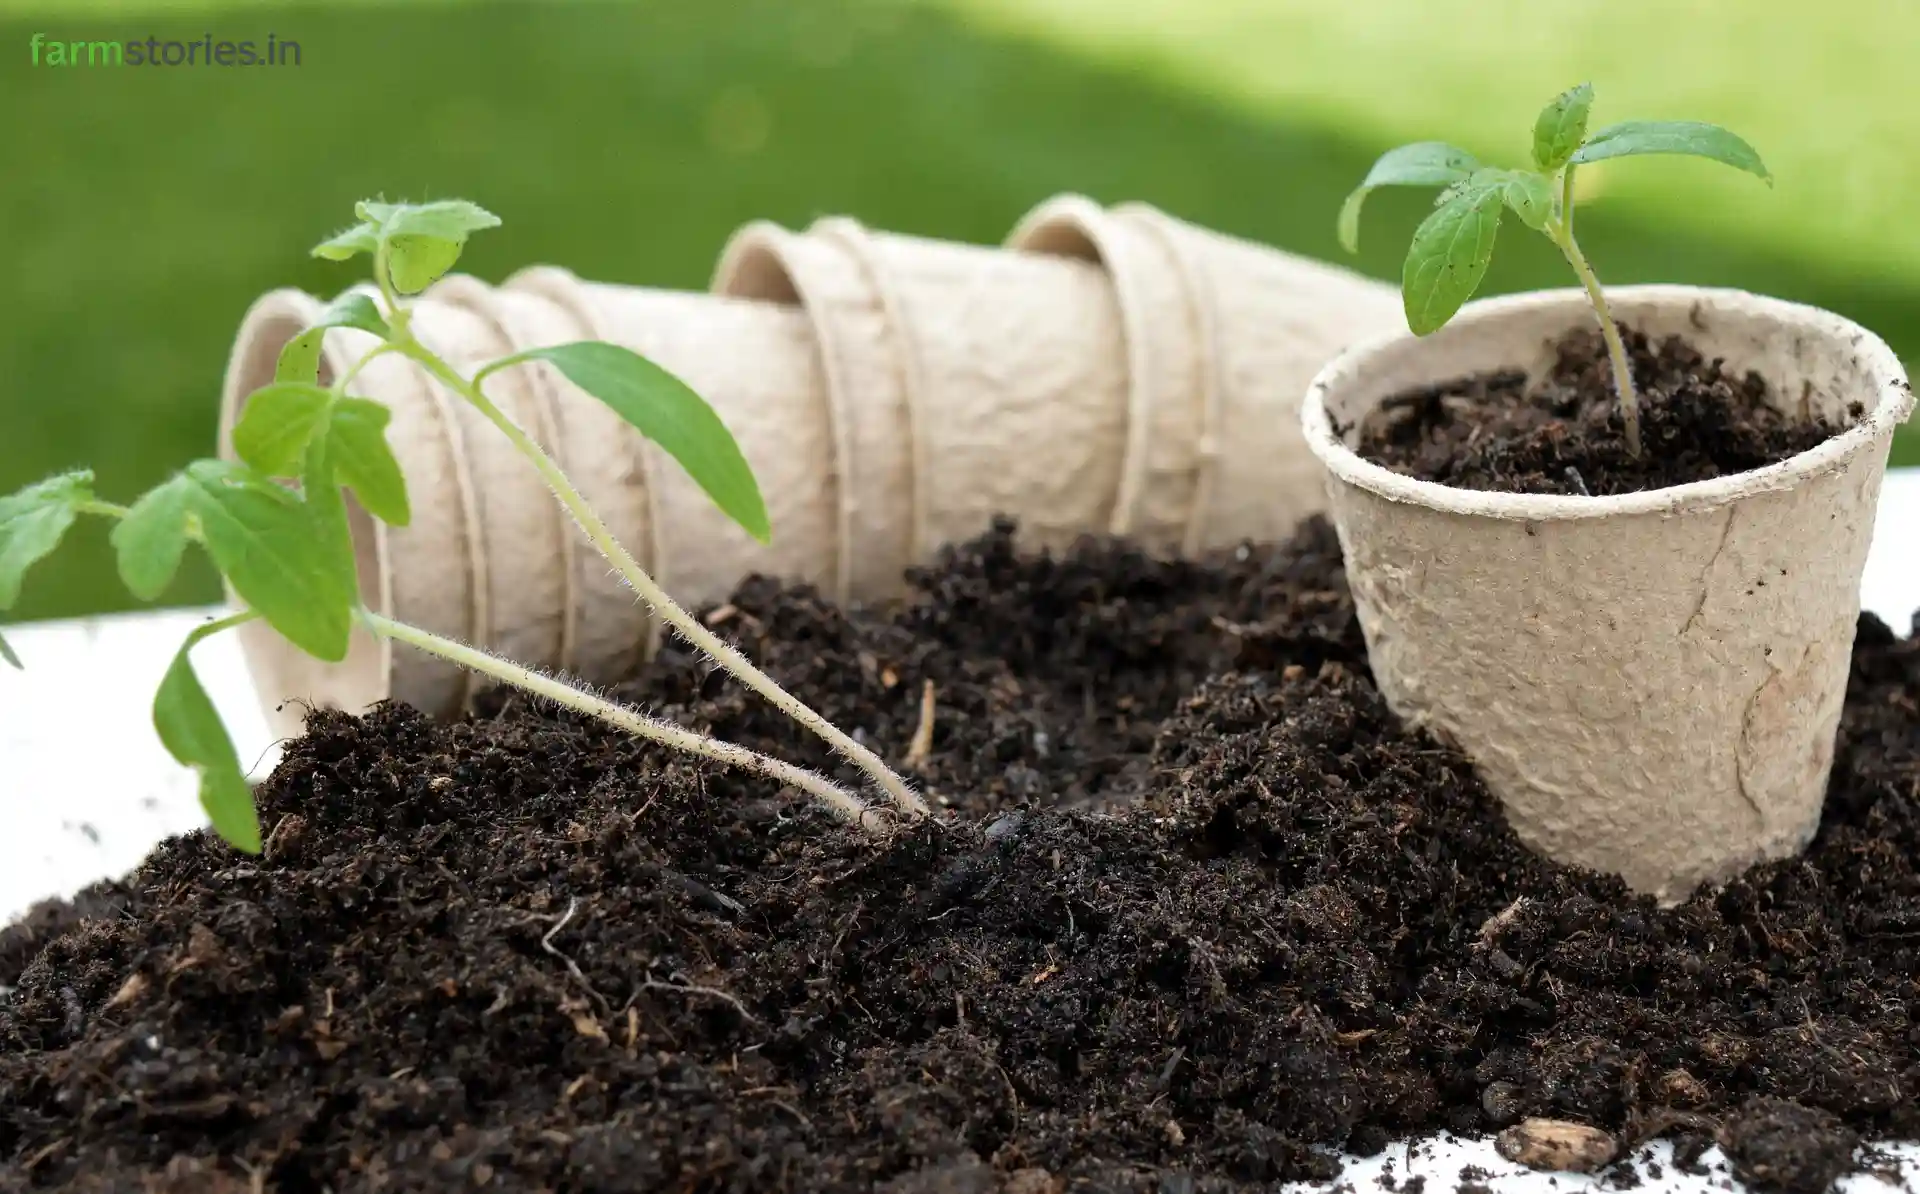
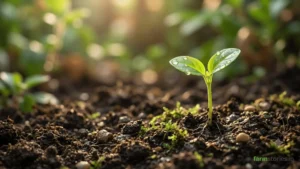
Success in the garden doesn’t start with the seed; it starts with the soil. Many beginners make the mistake of digging up “dirt” from their backyard, putting it in a pot, and wondering why their plants aren’t thriving. At FarmStories, we believe that understanding your soil is the first step toward agricultural independence.
In this master guide, we will break down the science of creating a premium, organic potting mix that ensures your plants have the perfect balance of drainage, aeration, and nutrition.
1. Soil vs. Potting Mix: Why “Dirt” Doesn’t Work in Containers
When plants grow in the ground, their roots have unlimited space to find water and nutrients. However, when you move a plant into a container or a grow bag, the environment changes completely.
Standard garden soil is often too heavy and dense for pots. When watered, it compacts, squeezing the life out of the roots and preventing oxygen from reaching them. This leads to “root rot,” a common silent killer in home gardens. A potting mix, on the other hand, is a “soilless” or “semi-soilless” medium designed specifically to stay light, fluffy, and nutrient-rich.
2. The Components of a High-Performance Mix
To hit that 1,200-word authority level, we must understand the “Big Three” components of a professional organic mix.
A. The Structural Base: Red Soil or Garden Soil (30-40%)
While we don’t use only soil, a good portion of high-quality red soil provides the mineral base and weight needed to support larger plants like tomatoes or brinjals. Red soil is generally preferred in tropical climates like India because it is rich in iron and has a decent texture.
B. The Moisture Manager: Cocopeat (30%)
Cocopeat is a byproduct of the coconut industry and is a miracle worker for container gardens.
Join a community dedicated to sustainable cultivation. Subscribe to FarmStories below for free, authentic insights into modern agri-tech and organic farming methods.
Water Retention: It can hold up to 10 times its weight in water, ensuring your plants don’t dry out in the afternoon heat.
Aeration: It prevents the soil from compacting, allowing roots to “breathe.”
Pro Tip: Always wash your cocopeat blocks thoroughly to remove any excess salts before mixing.
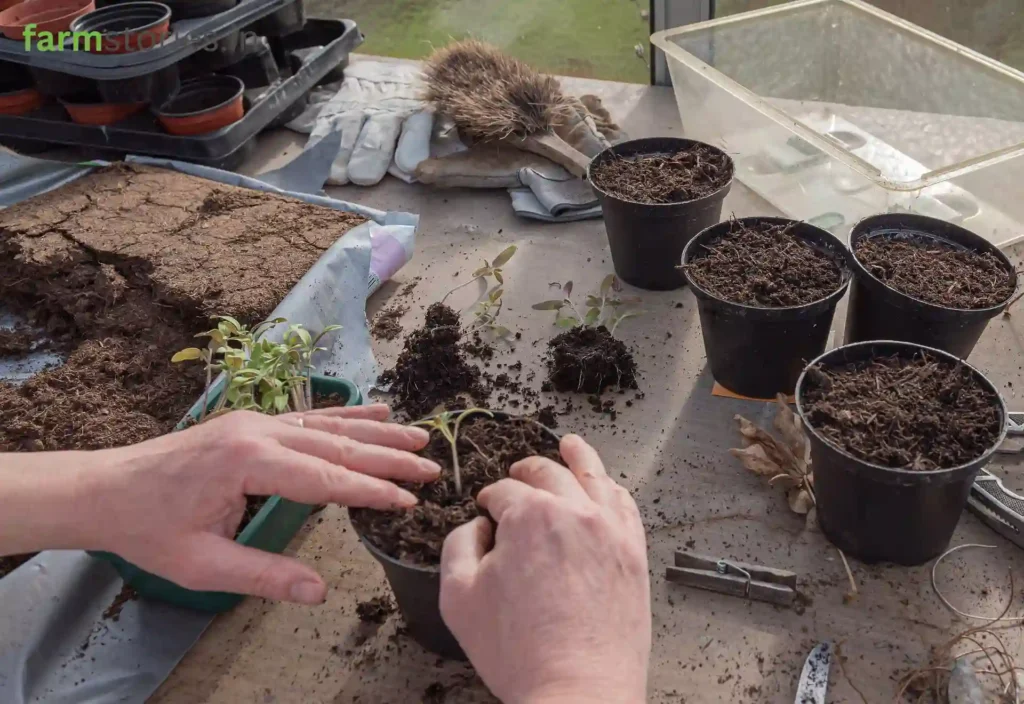
preparing potting mix for kitchen garden
C. The Nutrition Engine: Organic Manure (30-40%)
This is where the magic happens. You have two primary choices:
Vermicompost: Often called “Black Gold,” this is broken down by earthworms and is rich in microbes and plant growth hormones.
Well-Rotted Cow Dung: A traditional favorite. It must be at least 6-months to a year old (dark and odorless) to avoid “burning” your plants with excess nitrogen.
3. The “Secret Ingredients” for Authority Results
To make your mix truly professional, we add specific organic amendments that protect and feed the plant long-term.
The Power of Phosphorus (Bone Meal or Rock Phosphate)
If nitrogen is the “fuel” for leaves, Phosphorus is the “engine” for roots and flowers. Adding a handful of Bone Meal or Rock Phosphate during the mixing stage ensures that the plant develops a massive, healthy root system from day one. Strong roots mean the plant can survive heavy monsoons and high-wind days much better.
Neem Cake: The Natural Shield
Adding 5% Neem cake powder to your mix is non-negotiable for organic gardening. It acts as a natural pesticide, killing soil-borne pathogens and preventing nematodes from attacking your roots. It also doubles as a slow-release nitrogen fertilizer.
Bio-Fertilizers (The Living Army)
Modern organic farming relies on “good bacteria.” Adding a spoonful of Trichoderma viride or Pseudomonas helps fight off fungal infections naturally.
4. The Step-by-Step Mixing Process
Preparation: Spread a large tarp or plastic sheet on the floor.
The Layering: Pile your soil, washed cocopeat, and compost in equal parts.
The Additives: Sprinkle your Neem cake, Bone Meal, and bio-fertilizers over the top.
The Blend: Mix it thoroughly using a spade or your hands until the color is uniform.
The Squeeze Test: Grab a handful of the mix and squeeze it. It should hold its shape (meaning it has moisture) but crumble easily when touched (meaning it has good aeration).
5. Customizing the Mix for Specific Crops
Not all plants are the same. A 1,200-word guide must cover the nuances:
For Leafy Greens (Spinach, Amaranth): Increase the compost percentage. These plants are “nitrogen-hungry” and love the extra boost for leaf growth.
For Root Veggies (Carrots, Radishes): Increase the cocopeat/sand ratio. The soil needs to be extremely loose so the roots can grow deep and straight without hitting hard clumps.
For Fruiting Veggies (Tomatoes, Chilies): Ensure the Phosphorus (Bone Meal) content is solid to support the heavy flowering and fruiting stages.
6. Sterilization: Don’t Invite the Enemy
A common mistake is using soil that contains weed seeds or harmful fungi. If you are reusing old soil, let it sit in the direct sun for 3–4 days (Solarization). The UV rays from the sun act as a natural disinfectant, killing off unwanted pests before you plant your new seeds.
7. Sustainability: Reusing and Recharging
A true “FarmStory” is about a cycle. You don’t need to buy new soil every season. After a harvest, simply “recharge” your old potting mix by adding 20% fresh compost and a handful of Neem cake. This keeps the soil biology alive and reduces your gardening costs year after year.
Creating the perfect potting mix is the single most important skill you can learn as an organic gardener. It is the bridge between a struggling plant and a bountiful harvest. By following this “Golden Ratio” and focusing on root health through organic amendments, you are setting the stage for a thriving kitchen garden that will feed your family for years to come.