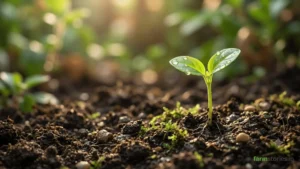
Green chillies are the undisputed soul of Indian cuisine. From a simple tempering to complex curries, this vibrant spice is an absolute necessity in our daily cooking. Yet, despite being a staple, buying chillies from the market often means bringing home produce laced with heavy chemical pesticides. Cultivating your own organic green chillies at home is not just a healthier alternative; it is an incredibly rewarding experience that connects you to the fundamental rhythms of nature.
Many beginners assume that growing chillies is as simple as tossing a few seeds into the soil and waiting for the magic to happen. However, to achieve a bushy plant loaded with hundreds of spicy, crisp chillies, you need a strategic approach. This comprehensive masterclass will walk you through the exact science and practical steps of organic chilli cultivation—from seed selection to managing complex pests like leaf curl virus, ensuring a continuous, high-yielding harvest right in your backyard or balcony.
1. Selecting the Right Variety of Green Chillies for Your Space
The foundation of a successful harvest begins before you even touch the soil. The Indian subcontinent is blessed with a massive diversity of chilli varieties, each with its own heat profile, growth habit, and climatic preference. Choosing the right seed is critical.
Jwala: This is the most popular variety for home gardens. It is highly pungent, grows easily in pots, and is relatively resistant to common pests.
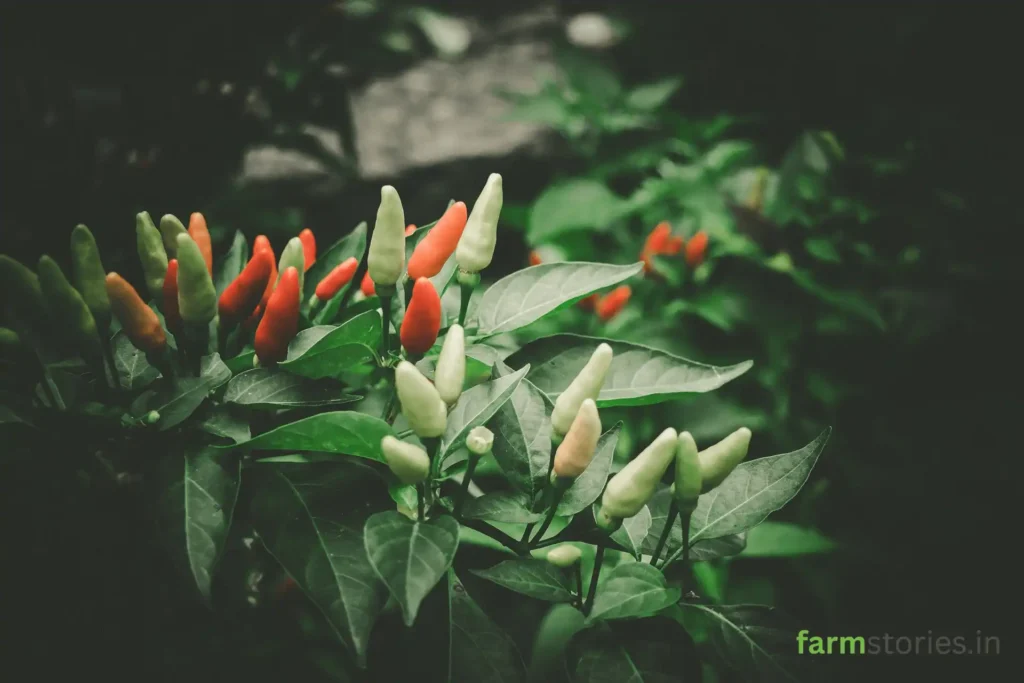
Kanthari (Bird’s Eye Chilli): Known for its intense heat and medicinal properties, Kanthari is a perennial variety. Once established, a single plant can yield chillies for up to three to four years. It thrives beautifully in partial shade, making it ideal for apartment balconies.
Guntur & Byadagi: If your goal is to dry the chillies to make your own organic red chilli powder, these varieties are unmatched in color and flavor.
Capsicum (Bell Peppers): While technically in the same family, bell peppers require slightly cooler temperatures and strict moisture control compared to their spicy cousins.
Expert Tip: Always source open-pollinated, heirloom seeds from reliable organic vendors rather than hybrid seeds if you plan to save seeds for the next growing season.
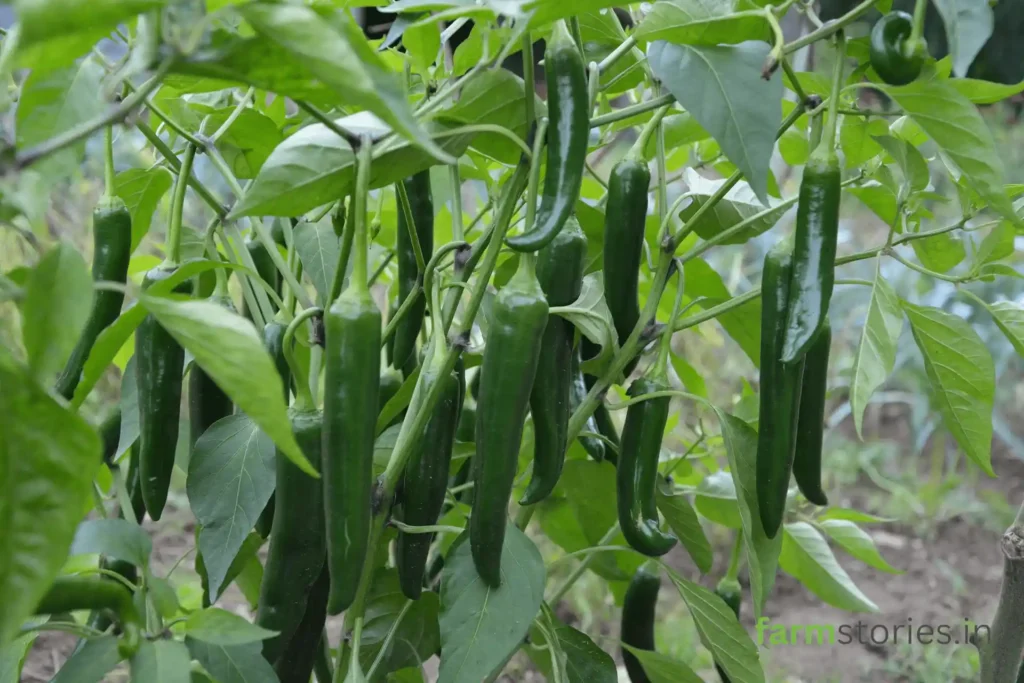
local variety of green chillies in the garden
2. The Science of Seed Germination
Chilli seeds require warmth and consistent moisture to break dormancy. Unlike larger seeds, they should not be buried deep.
The Pre-Soaking Method: To accelerate germination, soak the seeds in a diluted solution of Panchagavya or simply lukewarm water for 12 hours before sowing. This softens the seed coat and signals to the embryo that it is time to sprout.
Sowing the Seeds:
Join a community dedicated to sustainable cultivation. Subscribe to FarmStories below for free, authentic insights into modern agri-tech and organic farming methods.
Fill a seedling tray or small paper cups with a fine mixture of 50% cocopeat and 50% vermicompost. Avoid using regular garden soil for germination as it can become compact and restrict delicate taproots.
Place one or two seeds per cell, covering them with a very thin layer (barely 0.5 cm) of cocopeat.
Mist the surface gently with a spray bottle. Do not pour water directly, as it will wash the seeds away.
Keep the tray in a warm, shaded area. Chilli seeds typically germinate within 7 to 14 days, depending on the ambient temperature.
3. Crafting the Perfect Soil Environment
Once the seedlings have developed four to six true leaves (usually around 30 days after sowing), they are ready to be transplanted. This is where your potting mix plays the most crucial role. Chillies hate “wet feet.” Their root systems require oxygen just as much as they require water.
The Role of Phosphorus in Root Development: For a chilli plant to support a heavy load of fruit, it needs an extensive, deep-reaching root system. This is driven by Phosphorus. While nitrogen promotes leafy green growth, phosphorus is the engine behind root expansion and abundant flowering.
To create the ideal organic soil mix for your grow bags:
Use the standard 1:1:1 ratio (1 part red soil, 1 part washed cocopeat, 1 part organic compost).
Add Bone Meal or Rock Phosphate: Mix in a handful of steamed bone meal per grow bag. Bone meal is a slow-release organic source of phosphorus that will continuously feed the plant exactly when it starts forming flower buds.
Neem Cake Integration: Add 2 tablespoons of neem cake powder. This acts as a natural nematicide, protecting the young roots from soil-borne pests while providing trace micronutrients.
4. Transplanting and Strategic Placement
Transplanting is a stressful event for a young plant. To minimize transplant shock, always move your seedlings in the late afternoon or early evening.
Water the seedling tray thoroughly an hour before transplanting so the root ball slides out easily.
Dig a hole in the center of your prepared grow bag. Plant the seedling slightly deeper than it was in the tray. This encourages extra roots to sprout from the buried portion of the stem, anchoring the plant firmly.
Water gently to settle the soil around the roots.
Sunlight Requirements: Chilli plants are sun-worshippers. They require a minimum of 6 to 8 hours of direct, unobstructed sunlight daily. If they are grown in the shade, the plant will become “leggy” (stretching tall with weak stems) and will drop its flowers before they can turn into chillies.
5. Mastering the Watering Dynamics
Overwatering is the number one cause of failure in home chilli cultivation. When the soil is constantly saturated, the roots suffocate, leading to yellowing leaves and dropped flowers.
The “Finger Test”: Never water on a fixed schedule. Instead, push your index finger about an inch into the soil. If it feels moist, wait another day. If it feels completely dry, give the plant a deep, thorough watering until you see excess water draining out of the bottom holes of the grow bag. During the peak Indian summer, you may need to water daily, but during the monsoon, you might go days without watering.
6. Organic Nutrition for Maximum Yield
As the plant matures and enters the flowering stage, its nutritional demands shift dramatically. If you notice flowers falling off without forming chillies, it is a clear sign of nutrient deficiency or temperature stress.
The Sour Buttermilk Spray (The Secret Weapon): A highly effective, traditional Indian agricultural technique to prevent flower drop is the sour buttermilk spray.
Take 50 ml of highly fermented, sour buttermilk (kept outside the fridge for 3-4 days).
Dilute it in 1 liter of water.
Spray this completely over the foliage early in the morning, once every 15 days. This spray provides a mild dose of easily absorbable nitrogen and calcium, and acts as a natural fungicide.
Liquid Fertilizers: Feed the plant with a liquid fertilizer like Jeevamrutham or compost tea every two weeks. This keeps the microbial life in the soil highly active, which in turn helps break down the phosphorus and potassium in the soil, making it available for fruit production.
7. Pruning and the “3G Cutting” Technique
To get a massive yield from a single plant, you must manipulate its growth pattern through pruning. If left alone, a chilli plant will grow tall and straight, producing only a limited number of branches.
How to do a 3G (Third Generation) Cut:
1st Generation: When your plant is about 8 to 10 inches tall, pinch off the very top growing tip. This forces the plant to stop growing upward and instead push energy into lateral (side) branches.
2nd Generation: Let these new side branches grow out. Once they have 5-6 leaves, pinch their growing tips off as well.
3rd Generation: The branches that sprout after this second cut are the third generation. These branches are biologically programmed to produce significantly more female flowers.
By applying this simple topping technique, your single, spindly chilli plant will transform into a dense, bushy canopy capable of holding double the amount of fruit.
green chillies in the balcony garden
8. Organic Pest Management: Defeating the Leaf Curl Virus
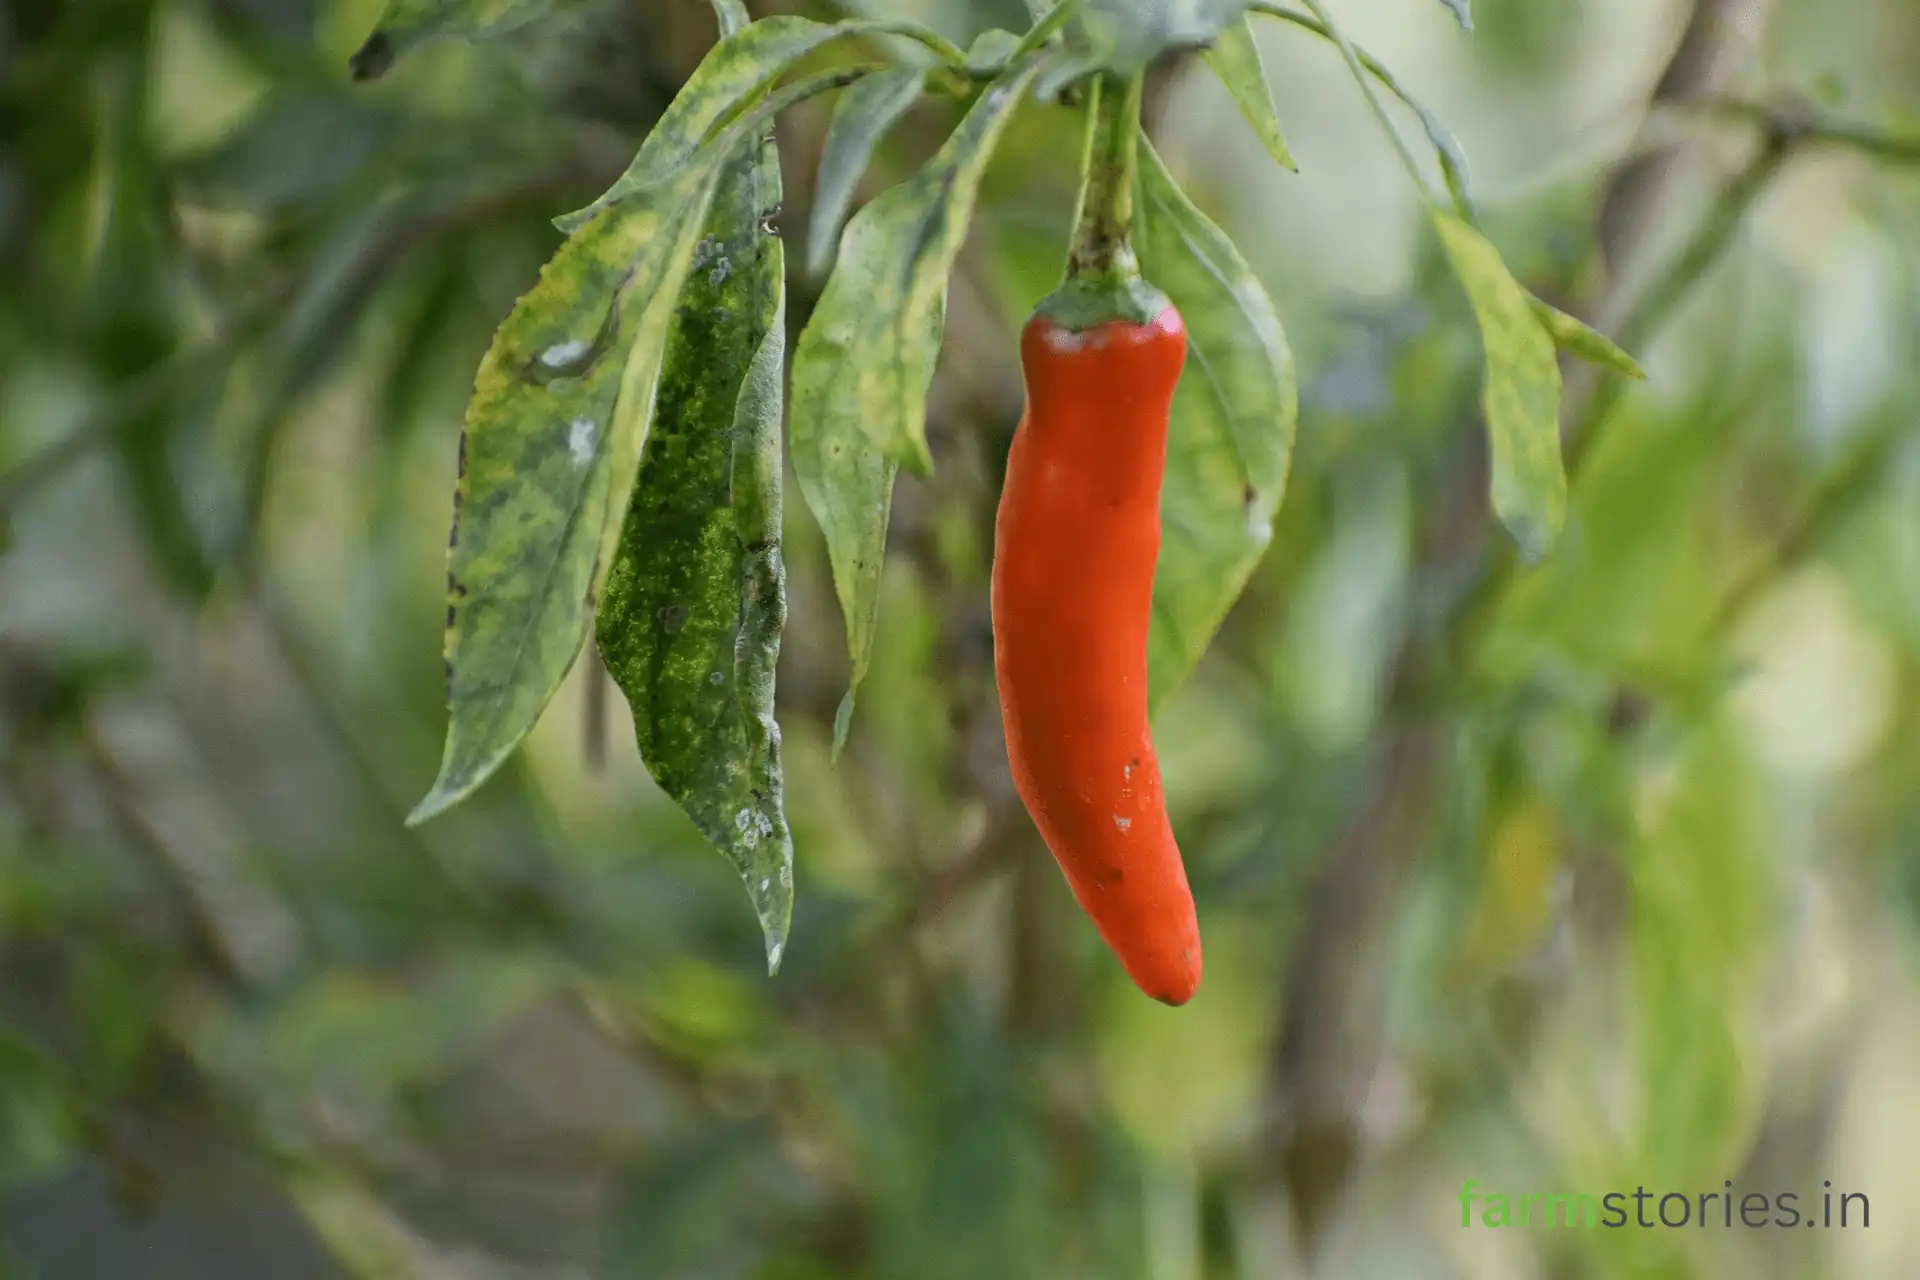
No guide on chilli cultivation is complete without addressing the most notorious enemy: the Leaf Curl Virus. If you notice the uppermost leaves of your plant shrinking, curling upwards like a boat, and becoming brittle, your plant is under attack.
Understanding the Enemy: The virus itself cannot be cured, but it is transmitted by vectors—specifically Thrips and Whiteflies. These microscopic pests suck the sap from the leaves and inject the virus. Therefore, pest management is about preventing the vectors.
Organic Defense Strategy:
Yellow and Blue Sticky Traps: Hang these traps just above the plant canopy. Whiteflies are attracted to yellow, and thrips are attracted to blue. This physically traps the pests before they can breed.
Neem Oil Routine: Prevention is better than cure. Mix 5 ml of cold-pressed, high-quality Neem oil and 2 ml of liquid dish soap in 1 liter of water. Spray the plant thoroughly (especially the undersides of the leaves) every 7 to 10 days from the seedling stage.
Wood Ash: Lightly dusting the leaves with natural wood ash in the early morning dew creates an alkaline barrier that soft-bodied insects hate.
If a plant is severely infected with leaf curl and stops growing entirely, the best organic practice is to uproot and burn or discard it far away from your compost bin to prevent the spread to healthy plants.
9. Harvesting for Continued Production
Harvesting is not just about enjoying the fruits of your labor; it is a biological trigger. The goal of every plant is to produce mature seeds. If you leave chillies on the plant until they turn red and dry out, the plant thinks its job is done and will stop producing new flowers.
To keep the plant yielding heavily:
Harvest the green chillies as soon as they reach their mature size and turn a glossy, deep green.
Use a pair of clean scissors or pruners to cut the stem. Pulling the chilli by hand can damage the delicate branches and introduce fungal infections.
Regular harvesting signals the plant to produce more flowers to ensure its survival, giving you a continuous supply for months.
Growing organic green chillies at home is a masterclass in patience and observation. By understanding the underlying science—from the vital role of phosphorus in root development to the strategic pruning techniques that multiply your yield—you elevate your kitchen garden from a hobby to a highly productive micro-farm.
The soil you build, the organic inputs you apply, and the close attention you pay to the ecosystem of your plants will ultimately reward you with a harvest that is unmatched in flavor, crispness, and health benefits. Start sowing your seeds today, and take the first step toward true food independence.