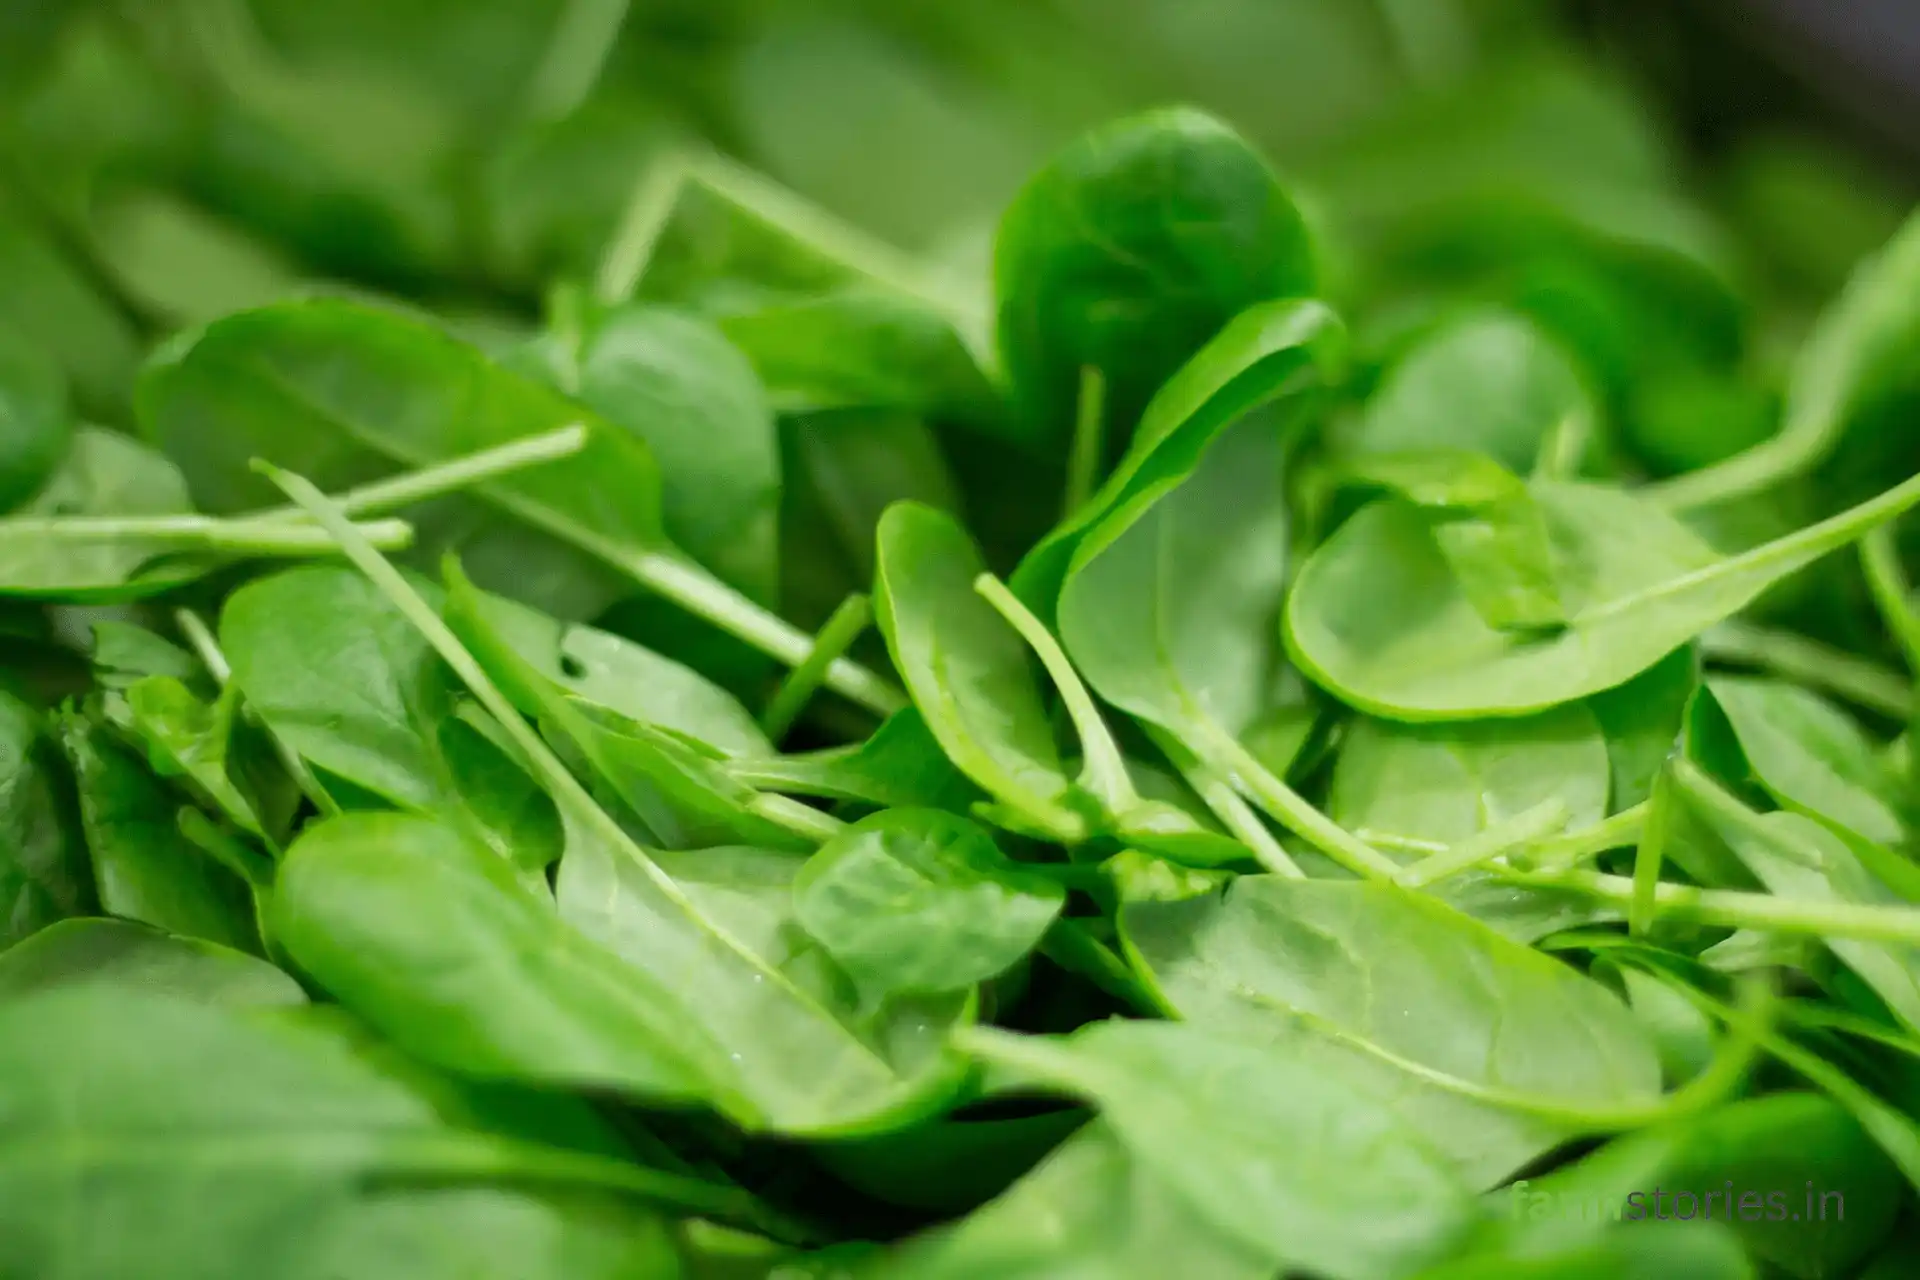
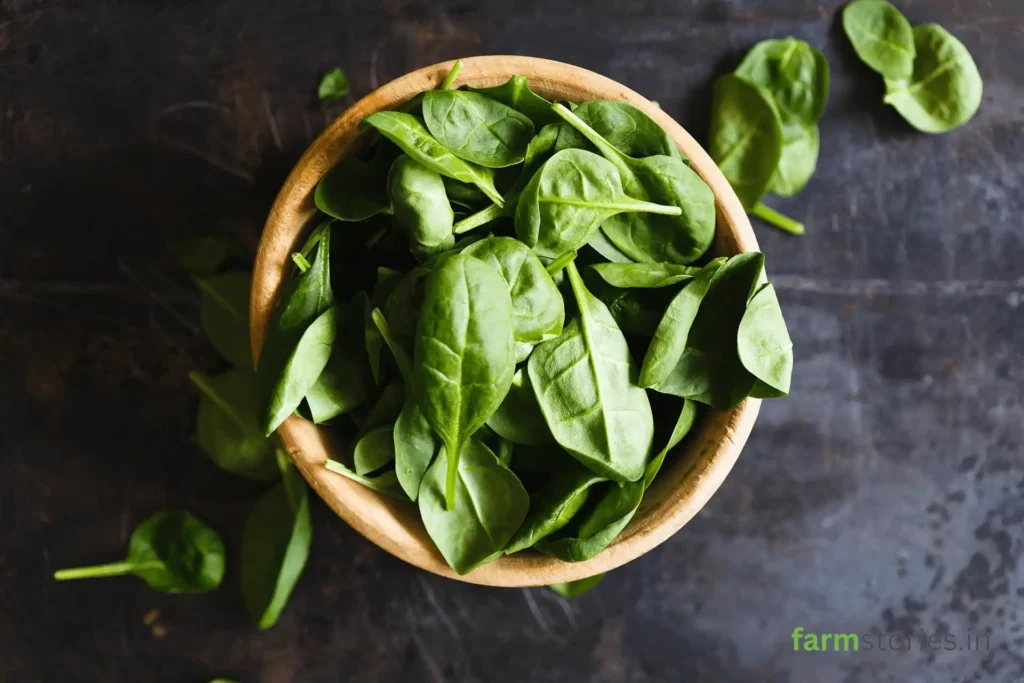
When it comes to building an organic kitchen garden, leafy greens are the ultimate starting point, and Spinach (Palak) reigns supreme. Packed with iron, calcium, and vital antioxidants, it is an essential ingredient in a healthy diet. However, commercially grown spinach is notoriously known for retaining high levels of chemical pesticide residue on its delicate leaves.
Cultivating your own organic spinach at home is the only way to guarantee a truly clean, chemical-free harvest. Unlike fruiting crops that take months to mature, spinach is a fast-growing, highly rewarding plant. Within just 30 to 45 days of sowing, you can harvest fresh, crisp leaves right from your balcony or terrace.
Growing spinach in containers or grow bags is incredibly efficient, but it requires a specific approach to soil health, spacing, and temperature management to prevent the plant from flowering too early (a process known as bolting). This comprehensive masterclass covers everything you need to know to achieve a continuous, lush harvest of organic spinach in containers.
1. Selecting the Right Variety Organic Spinach for Your Climate
A common mistake many beginners make is assuming all Organic spinach is the same. Traditional spinach (Spinacia oleracea) is technically a cool-season crop. In the Indian subcontinent, planting the right variety at the right time is the key to success.
Traditional Palak (All Green, Pusa Jyoti): These are authentic spinach varieties boasting tender, dark green leaves. They thrive best during the cooler months (October to February). If exposed to extreme summer heat, they tend to bolt quickly and turn bitter.
Malabar Spinach (Basella Alba / Basella Rubra): If you are planting during the peak Indian summer or monsoon, this is your champion. Available in green and striking red stem varieties, this is a vining plant that loves heat and humidity. While technically not a true spinach, it tastes very similar and is perfect for a summer kitchen garden.
Amaranth (Cheera): Another excellent hot-weather alternative. Red and green amaranth grow beautifully in containers and offer continuous harvests throughout the hotter months.
Expert Tip: For this container guide, we will focus on cultivating traditional Palak, as it is the most highly sought-after leafy green for urban gardeners. Always choose high-quality, open-pollinated organic seeds.
2. Container Selection: Wide Over Deep
Unlike tomatoes or chillies that develop deep taproots, spinach has a relatively shallow, fibrous root system. Therefore, the depth of your container is less important than its surface area.
Ideal Dimensions: Choose rectangular planters or wide, shallow grow bags. A depth of 6 to 8 inches is more than enough. However, ensure the container is as wide as possible to accommodate multiple plants.
Drainage is Mandatory: Spinach roots require constant access to oxygen. Ensure your container has at least 4 to 6 drainage holes at the bottom. Waterlogged soil will cause immediate root rot and invite fungal diseases.
If phosphorus is the secret to fruiting crops like chillies, Nitrogen is the undisputed king of leafy greens. Nitrogen is the primary fuel for foliage production, ensuring your spinach leaves grow large, deep green, and crisp.
To build the perfect soil mix for spinach, modify the standard organic formula to be slightly richer in compost:
Join a community dedicated to sustainable cultivation. Subscribe to FarmStories below for free, authentic insights into modern agri-tech and organic farming methods.
30% Garden Soil (Red Soil): To provide stability and essential trace minerals.
30% Cocopeat: To keep the soil lightweight and retain consistent moisture, which spinach loves.
40% Vermicompost or Aged Cow Dung: A higher compost ratio provides the heavy nitrogen boost required for rapid leaf development.
Bio-Additions: Mix in two tablespoons of Neem Cake powder to deter soil-borne pests, and a handful of Mustard Cake powder (Sarson ki Khali). Mustard cake is an exceptional organic source of nitrogen and micronutrients that leafy greens respond to brilliantly.
4. Sowing the Seeds: Direct Sowing vs. Transplanting
One golden rule of growing organic spinach: Spinach absolutely hates being transplanted. Disturbing the delicate root system often shocks the plant, causing it to bolt and go to seed immediately. Always direct-sow your seeds into their final container.
The Sowing Process:
Seed Preparation: Spinach seeds have a hard outer shell. Soak them in normal water for 12 to 24 hours before planting to significantly speed up germination.
Spacing: Draw shallow lines (furrows) in your potting mix, about half an inch deep. Space these lines 4 inches apart.
Planting: Drop the seeds into the lines, spacing them about 2 inches apart. Lightly cover them with a thin sprinkle of cocopeat or fine soil. Do not bury them deeply, or they will fail to sprout.
Watering: Mist the soil gently with a spray bottle. Heavy pouring will dislodge the seeds and clump them together.
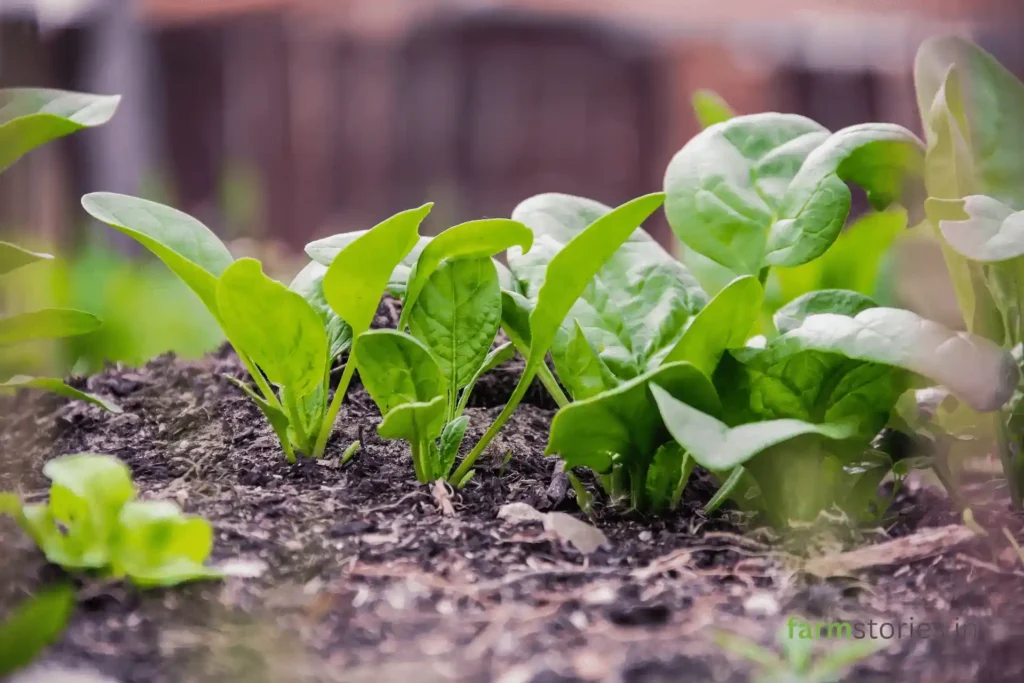
Germination usually occurs within 5 to 10 days, depending on the temperature. Once the seedlings are about 2 inches tall, “thin” them out by plucking the weaker ones, ensuring there is a strict 4-inch gap between each remaining plant. This airflow is vital to prevent fungal diseases.
Cultivating your own organic spinach at home is the only way to guarantee a truly clean, chemical-free harvest.
5. Mastering Sunlight and Temperature
Spinach is a delicate balance of requiring light for photosynthesis but hating extreme heat.
Winter Cultivation: Place your containers in full, direct sunlight (6 to 8 hours a day).
Summer/Warm Climate Cultivation: If the temperatures push above 30°C (86°F), you must protect the plants. Move the containers to a spot that receives morning sunlight but is shaded during the harsh afternoon heat. Alternatively, erect a 50% green shade net over your terrace garden.
Understanding Bolting: When spinach gets too hot or lacks water, it goes into survival mode. It shoots up a tall central stalk, produces flowers, and the leaves instantly turn tough and intensely bitter. Keeping the soil consistently cool and moist is the only way to delay bolting.
6. The Watering Regimen for Leafy Greens
For spinach, the soil must be consistently moist, like a wrung-out sponge, but never soaking wet.
Check the soil daily. Because you are using a wide, shallow container, evaporation happens rapidly.
Water gently at the base of the plant. Avoid splashing mud onto the leaves, as this can transfer soil-borne bacteria to the foliage.
Mulching the top layer of the soil with dry leaves or a thin layer of cocopeat helps regulate the soil temperature and locks in moisture during warm days.
7. Organic Nutrition for Continuous Growth
Because spinach grows incredibly fast, it exhausts the nutrients in the soil very quickly. To sustain multiple harvests from the same container, you need to provide a steady supply of liquid organic nutrition.
Liquid Nitrogen Feed: Every 10 to 14 days, feed your spinach with a liquid nitrogen booster. You can create a highly effective “Compost Tea” by soaking a handful of vermicompost and half a handful of mustard cake in a liter of water for 48 hours. Dilute this mixture with plain water (1:5 ratio) and apply it directly to the roots.
Seaweed Extract: A monthly foliar spray of organic seaweed extract diluted in water provides essential micronutrients, keeping the leaves crisp, deeply colored, and highly resistant to environmental stress.
8. Organic Pest and Disease Management
Leafy greens are highly attractive to pests, but applying harsh chemicals defeats the purpose of an organic kitchen garden. Identifying and treating pests organically is crucial.
Leaf Miners: These are the most common enemy of spinach. They are tiny insect larvae that tunnel inside the leaf, leaving visible white, squiggly lines. Because they are inside the leaf, sprays do not work. The only organic solution is to immediately pluck and destroy the affected leaves to stop the larvae from maturing.
Aphids: These tiny green or black bugs cluster on the undersides of the leaves and suck the sap, causing the leaves to curl and yellow. A strong blast of water from a hose can physically knock them off. Follow up with a standard Neem Oil spray (5ml Neem oil + 2ml liquid soap per liter of water) applied in the late evening.
Fungal Leaf Spots: Caused by poor airflow and wet leaves. Ensure you maintain the 4-inch spacing between plants and only water the soil, not the foliage.
9. Harvesting: The “Cut-and-Come-Again” Method
The most exciting part of growing organic spinach is that you don’t just harvest it once. If harvested correctly, a single container can provide continuous greens for weeks.
When to Harvest: You can start harvesting when the leaves are about 3 to 4 inches long (baby spinach stage) or wait until they reach full maturity.
The Technique: Never pull the entire plant out of the soil by the roots. Instead, use a clean, sharp pair of scissors to cut the outer, oldest leaves about an inch above the soil line.
Leave the small, inner leaves and the central growing point intact. The plant will continue to push new growth from the center, allowing you to return for another harvest in just a week or two.
Growing your own organic spinach in containers is one of the quickest and most satisfying projects for any urban gardener. By focusing on a nitrogen-rich soil mix, protecting the plants from extreme heat, and utilizing the cut-and-come-again harvesting method, you can transform a simple balcony into a highly productive green oasis. The unparalleled crispness and rich, earthy flavor of freshly harvested, chemical-free spinach will forever change the way you look at your kitchen ingredients. Plant your seeds today, and take a tangible step toward a healthier, sustainable lifestyle.
Want to see these techniques in action? Join our growing community of urban farmers by following farmstories on Instagram, YouTube, and Facebook for daily tips, video guides, and harvest inspiration!